Alphasauna Ice Bath Chiller: Detailed Tutorial for Connecting to iPhone App and Apple Watch
With the continuous advancement of technology, many home appliances are now integrated with smart technology, offering a more convenient lifestyle. For example, ice bath chillers can be controlled via an app and Wi-Fi, simplifying operation and enhancing the user experience. To help users easily monitor device status, adjust temperature, and set timers through their mobile phones and Apple Watch, this tutorial provides a detailed guide on how to connect the Alphasauna ice bath chiller to the app. Please continue reading.
Download and Install the Ice Bath Chiller App
No matter the brand water chiller for home, it typically comes with a corresponding app, and Alphasauna’s self-developed water chiller is no exception.
First, open the App Store on your iPhone and enter "Ice Bath" in the search bar. When you see the blue and white icon for the ice bath water chiller, click to download and install it. Once the Ice Bath app is installed, open the app.
Register and Log In to Your Account
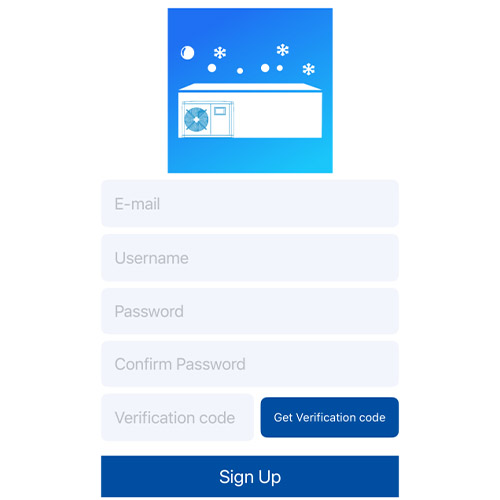
When you open the app, the first page you will see is the login page. Click on “Sign Up Now” to proceed to the registration page. Registering with an email makes it easy to retrieve and reset your password if you forget it. Next, choose a username for your account and set a password. Once everything is ready, request a verification code to be sent to your email, and then enter the received code to complete the registration process.
Tips: If the email is already registered, the verification code is incorrect, or the two passwords do not match, you will receive a corresponding prompt.
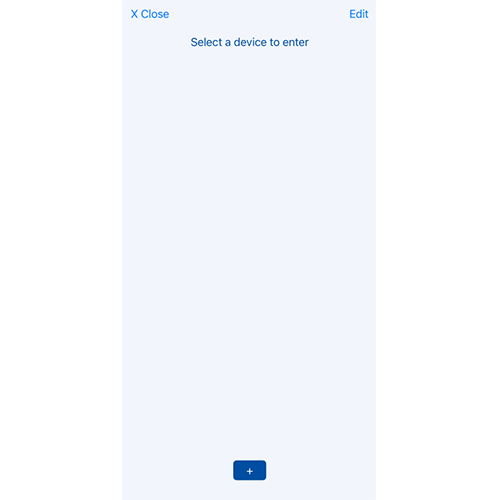
After logging into your account, you will be directed to the device selection page of the app. For first-time users without a connected device, click the "+" sign at the bottom to scan the code and bind the device. If the device is not selected, you will not be able to access the device control page and can only choose to log out or reselect the device.
Here are the detailed steps:
After logging in and selecting "Add Device," Move to the chiller operation panel. Ensure that the chiller is powered on and running.
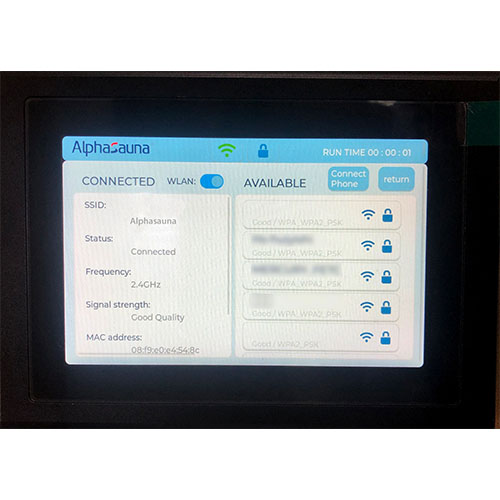
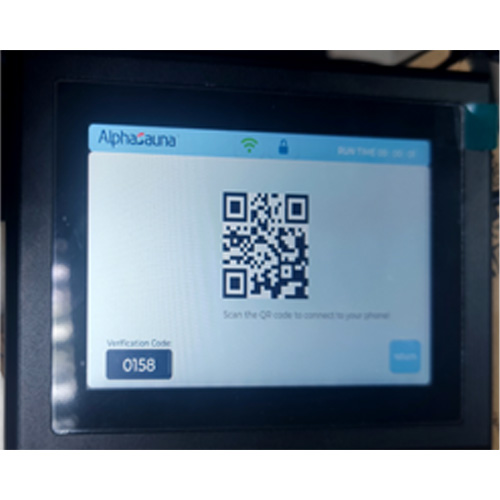
The Alphasauna chiller’s Wi-Fi function is located in the blue box above the LCD touch screen. If not connected, a white icon will be displayed; when the connection is successful, a green icon will appear.
Once the chiller Wi-Fi is connected, click the “Connect Phone” button to access the chiller’s QR code page. Then, in the mobile Ice Bath app, click the Scan QR Code button, which will automatically open the camera to scan the code and bind the device. (Note: After successfully scanning the code, a 4-digit verification code will be displayed in the lower left corner of the chiller’s LCD screen. Enter this code into your phone for final confirmation before completing the binding process.)
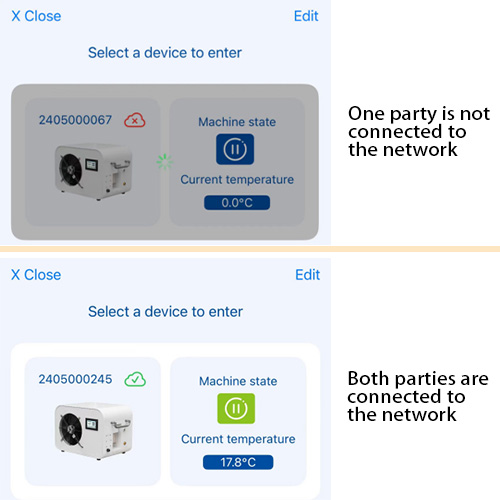
Once the Ice Bath app is bound to the chiller, the device will appear in the app. Click to enter the main page. (Note: If either the chiller or the phone is not connected to a network, the icon will appear gray and unselectable. The icon will appear white and selectable only when both are connected to the network.)
Explanation: Why Do You Need to Enter the Verification Code After Binding?
This is to prevent others from connecting to your device by scanning the code, which could result in information leakage.
Different iPhones will generate unique verification codes when connecting to different devices. The same device will generate the same code for 5 minutes; after 5 minutes, rescanning the code will generate a new one, reducing the risk of errors during the connection process.
Common Issues with the Mobile Ice Bath Chiller App
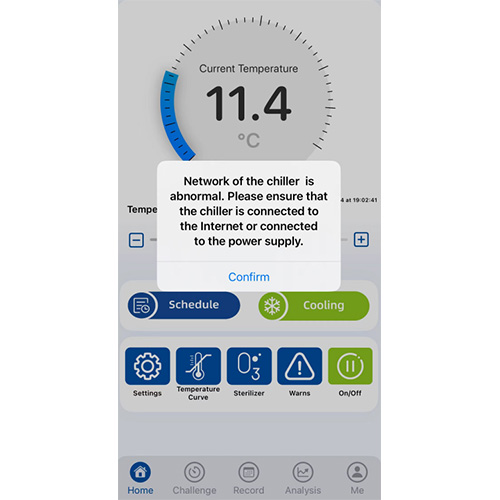
Disconnected from the Server
If you see the first situation in the left picture, it means the machine is disconnected from the server. This could be due to a power outage of the ice bath chiller or an unstable Wi-Fi connection, causing the app to not receive data from the machine. To resolve this, simply reconnect and go back to the device selection page.
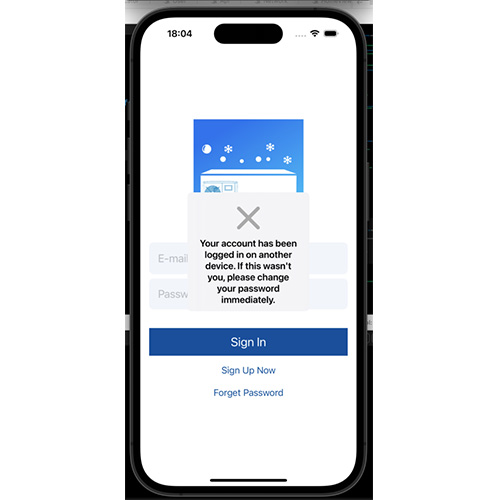
Account Logged in on Another Device
If you encounter the second situation in the right picture, it means your account is logged in on another mobile ice bath app.
Verification Code Not Received
If you do not receive the verification code, check if there are errors in the capitalization of your email address. Also, wait for 1-2 minutes in case of network delay.
Unable to Download the App from the Apple App Store
If you are unable to download the app from the Apple App Store, please upgrade your iOS system. The minimum iOS version supported by the Alphasauna ice bath chiller app is 16.0.0.
How to Connect the Ice Bath App to Apple Watch
When taking an ice bath, you don’t necessarily need to hold your mobile phone. To conveniently record your ice bath time, you can use an Apple Watch. Most smartwatches are now waterproof, allowing you to wear them while soaking to track your time and heart rate.
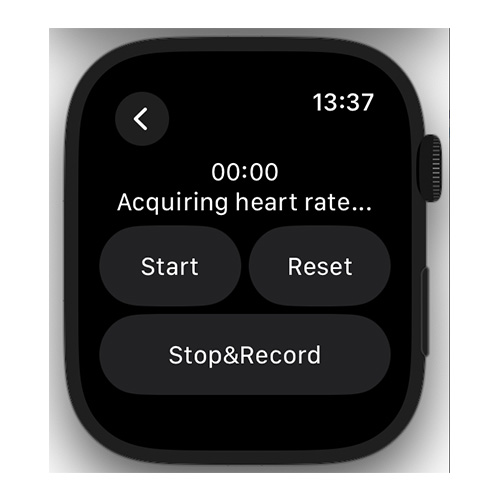
Here are the detailed steps:
Install the App on Apple Watch
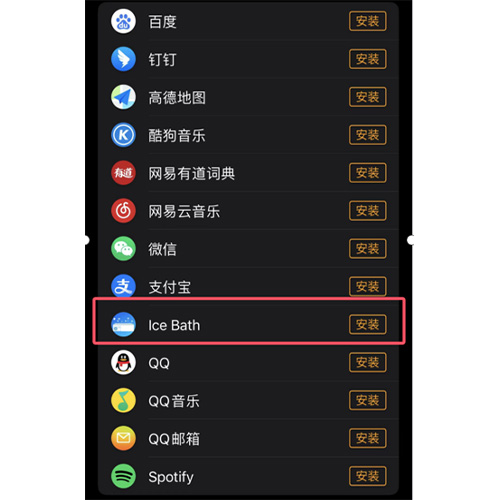
Go to the Apple Watch section on your iPhone, find the available app, and click to install it.
Ensure Both Apps Are Open
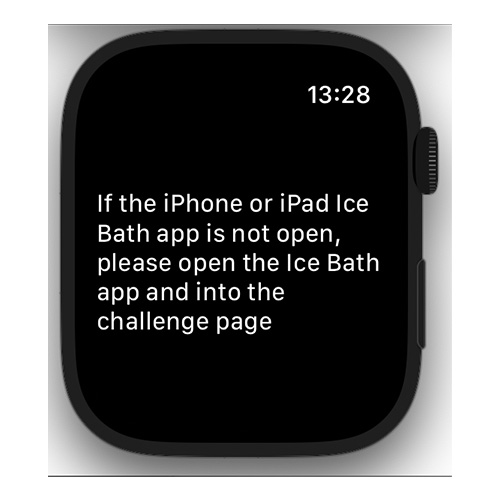
The Apple Watch app needs to be used in conjunction with the iPhone app. If you only open the Watch app without opening the iPhone app, a prompt will appear on the Challenge page.
Open the iPhone App
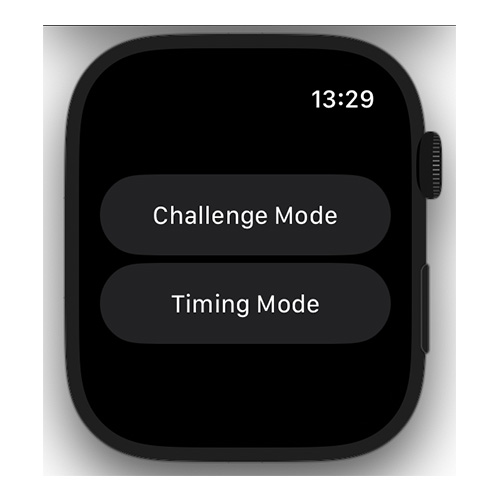
Go to the Challenge page in the iPhone app. At this point, the Watch app will display two options: Challenge Mode and Timing Mode.
Select Challenge Mode
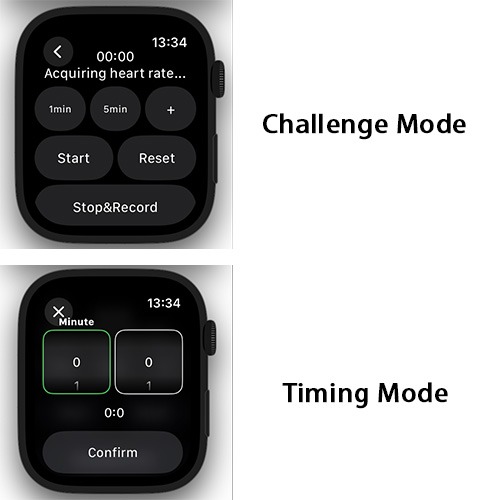
In Challenge Mode, you can set or choose your desired soaking time. Once the soaking time is complete, the statistical data will be sent to your phone. While the iPhone app also shows related values during the soak, the detailed data is primarily recorded by the Watch app.
Select Timing Mode
When using Timing Mode, both your phone and Apple Watch will enter sleep mode. To end the session, wake up the Watch by clicking Stop & Record, then turn on your iPhone. The data collected during sleep mode will be sent to your phone.


